
Last Updated: 5 November 2026
Quick Summary
To prepare floors for tiling, strip back old flooring and adhesive residue, then check the subfloor for flatness, movement and moisture before tiling. Clean, sound and dry surfaces bond properly, while dust, deflection and trapped moisture cause hollow tiles and early failures.
- Identify whether the subfloor is concrete, timber, chipboard or existing tiles, as each needs a different approach.
- Run a long straightedge across the floor to mark high and low points before levelling.
- Tape a 500 mm plastic sheet to the slab for at least 24 hours to check for moisture.
- Prime the substrate to control absorption, following the manufacturer’s dilution and drying times.
- Wet areas such as bathrooms and laundries need a waterproofing membrane before tiling.
Why Floor Preparation Decides Whether Your Tiles Last
Many tile failures come from what happens underneath the tiles rather than the tiles themselves. Learning how to prepare floors for tiling properly is what separates a floor that performs well for years from one that sounds hollow and lifts early. Preparation matters more than almost anything else in the job.
A tile is only as good as the surface it bonds to. Dust, movement, moisture and unevenness all work against that bond.
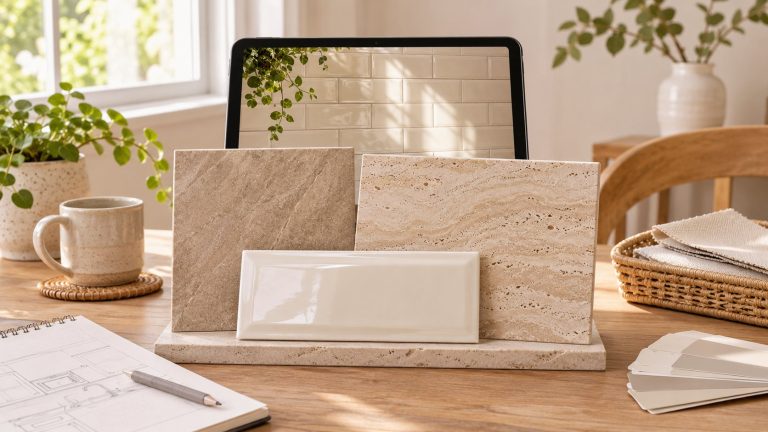
If you’re still choosing your tiles, our guide to floor tiles for Australian homes covers porcelain, ceramic and travertine-look options before prep begins.
Step 1: Assess the Subfloor and Strip It Back
Start by identifying what’s underfoot. Is it a concrete slab, timber floorboards, chipboard or an existing tiled surface? Each substrate needs a different approach, and guessing here costs money later.
Check for movement by walking across the floor. Squeaks and springiness in timber point to loose boards or joists that need fixing first.
Removing old flooring and adhesive residue
Old flooring has to come up completely. That means lifting tiles, scraping adhesive residue and pulling up underlay or vinyl.
Use mechanical removal where you can. A floor scraper or oscillating tool shifts hardened adhesive faster than chemicals, and it’s safer in a stripped-out room. Wear PPE, including a dust mask and eye protection, and use dust extraction if you’re grinding or sanding.
Any residue left behind reduces how well the new adhesive grips. The surface must be clean, sound and free of loose material before you go further.
Step 2: Check Flatness, Cracks and Moisture
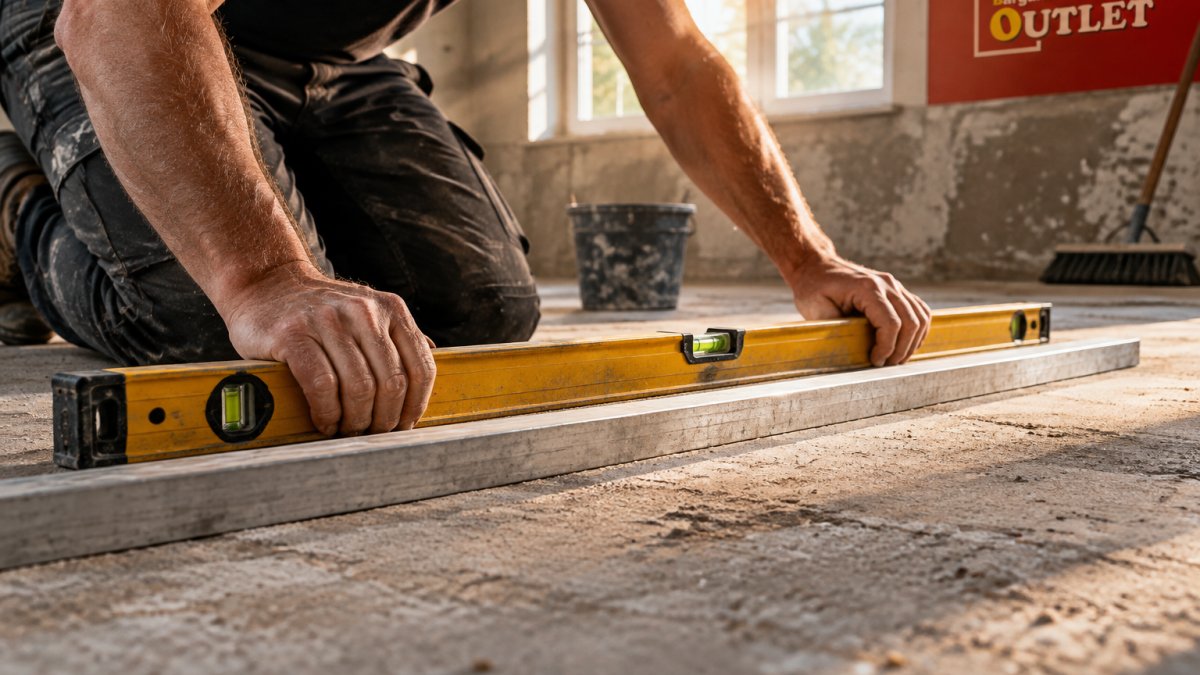
Flatness is not the same as level. A floor can slope slightly and still be flat enough for tiles, but humps and dips cause lippage and hollow spots.
Run a long straightedge across the floor in several directions. Mark the high and low points. Small dips can be filled with patching compound. Larger variations may call for a self-levelling compound. Check the tolerance stated by your tile and adhesive manufacturer rather than working to a rule of thumb, because large-format tiles tolerate less variation than small ones.
Flatness, deflection and crack isolation
Deflection is how much a floor bends under load. Timber substrates flex more than concrete, and too much movement cracks tiles and grout.
Deflection limits are usually expressed as a fraction of the joist span. The figure that applies to your job comes from the tile manufacturer, the adhesive manufacturer and, where the structure is marginal, a qualified engineer. A longer span deflects more for the same joist size, so longer spans generally need deeper or more closely spaced joists to reach the same stiffness.
If you’re tiling over timber, stiffen the floor first. Adding a tile backer board or plywood underlay helps, but the joists themselves may need attention. A qualified installer or engineer can assess deflection properly.
Cracks in a concrete slab need treating before tiling. A crack isolation or decoupling membrane stops small slab movements transferring into the tile layer. Not every crack needs the same treatment, dormant shrinkage cracks behave differently from cracks that are still moving, so have the cause assessed before you cover it.
Testing subfloor moisture before you tile
Moisture is the quiet killer. Concrete slabs release moisture over time, and trapping it under tiles causes adhesive failure. “Make sure it’s dry” is not a test, so here are the two methods most commonly used.
Plastic sheet test (qualitative). Tape a sheet of clear plastic, roughly 500 mm square, to the slab with all edges sealed. Leave it for at least 24 hours, ideally longer in cool weather, then lift it.
Moisture meter or hygrometer test (quantitative). An electronic moisture meter gives a comparative reading across the slab, which is useful for finding wet patches. For a definitive figure, use a calcium chloride or in-situ hygrometer test as specified by the adhesive manufacturer.
The important point is that the acceptable moisture level depends on the adhesive and membrane system you’re using, and on whether the slab is a standard concrete slab or a fast-drying screed.
Watch out: sealing a damp slab under a waterproof membrane traps the moisture with nowhere to go, and the failure often appears as debonded tiles or efflorescence months later rather than immediately.
The Tiling Tools for Floor Preparation You Actually Need
You don’t need a workshop full of gear, but a few tools make preparation far easier:
- Notched trowel for spreading adhesive evenly
- Long spirit level and straightedge for checking floor flatness
- Floor scraper for adhesive residue removal
- Mixing paddle and drill for adhesive and levelling compound
- Dust extraction and PPE for grinding and sanding
- Sponge and bucket for cleaning before priming
Buying the right tools up front saves rework. You can browse our tiling tools range online or check them in person at our Campbelltown showroom.
How to Level a Concrete Floor for Tiling
Self-levelling compound is the standard fix for an uneven concrete slab. It flows out to fill dips and creates a flat surface for tiling.
The steps are straightforward:
- Clean and prime the slab as the manufacturer directs.
- Mix the compound to the stated ratio, using a mixing paddle.
- Pour in sections and spread with a trowel or spike roller.
- Let it cure for the full time on the bag before tiling.
Curing time matters. Tiling too early traps moisture and weakens the bond. Follow the manufacturer’s instructions rather than guessing.
Priming Subfloor Before Tiling: What It Does and When You Need It
Primer controls how porous a surface is, so adhesive bonds consistently instead of drying out too fast. It also helps seal dust that cleaning can’t fully remove, and on some substrates it improves adhesion between the adhesive and the surface.
Not every substrate needs the same primer. Porous concrete, timber and fibre cement sheet each behave differently, and some primers suit one surface but not another. The table below is a general guide to the questions to ask, not a substitute for the manufacturer’s data sheet, always confirm the specific product against your substrate and adhesive before you buy.
| Substrate | What the primer is generally doing | What to confirm before buying |
|---|---|---|
| Porous concrete or sand/cement screed | Sealing open pores so adhesive doesn’t dry out too fast | Whether a standard acrylic primer or an epoxy primer is specified, and the dilution rate |
| Green or new screed | Controlling absorption while the screed continues to cure | The minimum cure time and moisture level the adhesive manufacturer requires before priming |
| Anhydrite (calcium sulphate) screed | Sealing a smooth, low-absorption surface so adhesive can key | Whether the system requires a specific primer and adhesive combination, and whether sanding is needed first |
| Timber floorboards or plywood | Reducing absorption and improving grip on a movement-prone surface | Whether a backer board is required instead of tiling direct, and which primer suits the board |
| Fibre cement sheet or tile backer board | Sealing dust and controlling suction | The board manufacturer’s priming requirement, which sometimes differs from the adhesive maker’s |
| Existing tiles (tile-on-tile) | Keying a glossy, non-porous surface | Whether the existing glaze needs abrading and which primer is rated for tile-on-tile |
A few practical points apply across the board:
- Dilution matters. Some primers are ready to use and some are concentrated. Mixing at the wrong ratio can leave a sticky film or seal the surface too well, and either can weaken the bond.
- Drying time matters. Priming and then tiling too soon, or leaving primer exposed to site dust for days, both cause problems. Follow the recoat and open-time windows on the data sheet.
- One primer is not universal. A primer that suits a porous screed may be wrong for an anhydrite screed or a timber floor. Check the compatibility guidance from both the primer and adhesive manufacturers for your specific combination.
For tile adhesive, always follow the bag. If you’re using a product like our SikaTile-400 Evo Pro tile adhesive, read every direction on the back of the bag and download the manufacturer’s instructions before you start.
Watch out: priming over a surface that is still dusty, or over adhesive residue you haven’t removed, seals the contamination in rather than solving it, clean and strip first, then prime.
Waterproofing Requirements for Wet Areas
Bathrooms, laundries and other wet areas need a waterproofing membrane before tiling. This is separate from the tile and adhesive, and it protects the structure beneath.
Requirements vary by location, substrate and the applicable building rules in your area. Suitability depends on the product, the wet area classification and local requirements, so confirm the details with a qualified waterproofer or your certifier before you tile.
Get this wrong and the consequences show up years later as damp, mould or failed adhesive.
Choosing Substrates, Boards and Accessories at Our Campbelltown Showroom
Boards and substrates are where many projects stall. Fibre cement sheet, tile backer board and plywood underlay each suit different situations, and the right choice depends on your subfloor and tile type.
Our 1,000 m² showroom in Campbelltown carries floor, wall, bathroom and outdoor tiles alongside adhesives and accessories. Visit the showroom for tile-selection advice. You can also browse our floor tile range before you visit.
Prices, specifications and availability are on the current product pages, so check those before you finalise your order.
Frequently Asked Questions
Do I need to prime my floor before tiling?
It depends on the substrate and the adhesive. Priming subfloor before tiling helps control how quickly the surface draws moisture out of the adhesive and can improve bond on porous or dusty surfaces. Not every substrate needs it, and some primers suit concrete while others suit timber or fibre cement. Check the adhesive and primer manufacturer’s instructions for the specific combination, and ask before you buy if you are unsure which product suits your floor.
How level does a floor need to be for tiling?
There is no single number that applies to every tile and every adhesive, so treat any figure you see online with caution. What matters is that the floor is flat enough for your chosen tile size and that any hollows or humps are corrected before you start. Larger tiles and thinner adhesives leave less room for error. Measure with a straightedge across the room, note the high and low spots, and follow the tile and adhesive manufacturer’s guidance for your specific products.
Can I tile directly onto concrete?
Often yes, provided the slab is clean, sound, flat enough and free of curing compounds, paint or old adhesive. Concrete also needs to be dry enough for the adhesive, and slabs on ground can pass moisture up over time. A moisture test before tiling is worth doing, and a waterproofing membrane may be needed in wet areas. Confirm the requirements for your situation with the adhesive manufacturer or a qualified waterproofer before you commit.
Do I need to use a decoupling membrane?
A decoupling membrane helps separate the tile from movement in the substrate, which is useful over timber floors, heated slabs or areas prone to cracking. It is not automatically required on every job. Whether you need one depends on your substrate, the tile format, the room and the applicable requirements for your project. Ask your adhesive supplier or a qualified tiler to assess the floor before deciding, rather than adding one as a default.
Preparing a floor properly takes patience, but it’s the cheapest insurance your tiling project has. If you’re unsure which adhesive, primer or board suits your subfloor, visit Bargain Factory Tile Outlet at 20A Blaxland Road, Campbelltown. Our team can point you to the right products for your project, and you can browse the full range online or in the showroom before you commit.