Last Updated: October 7, 2026
Choosing Tile Adhesive in Campbelltown: Start With the Tile and the Location
The right tile adhesive is the one matched to your tile type, the surface it goes on, and where it will sit. Get that match wrong and even expensive tiles can lift, crack or sound hollow. This guide from Bargain Factory Tile Outlet walks through how to choose and apply tile adhesive, step by step.
Most adhesive failures come down to two things: the wrong product for the tile, and a surface that was never ready for tiling. Below, we break down both, plus a coverage calculator method and common mistakes.
Tile adhesive is the bonding material that fixes tiles to a prepared substrate. It comes as a cement-based powder you mix with water, or as a ready-to-use pre-mixed paste. The type you need depends on your tile and the conditions it faces.
We’re a tile retailer, not an installer, so we stick to what we know: helping you buy the right materials for the job.
Cement-Based vs Pre-Mixed Adhesive
Cement-based adhesive is a powder you mix with water on site. It suits most floor and wall tiling, handles moisture better, and is the standard choice for floors and wet areas when the correct product is selected.
Pre-mixed adhesive comes ready in a tub. It’s convenient for small wall jobs like splashbacks. But it should not be used where it will stay wet or where large heavy tiles are going on.
A quick comparison:
| Adhesive Type | Best For | Avoid For |
|---|---|---|
| Cement-based | Floors, wet areas, large tiles | Very small quick fixes |
| Pre-mixed | Small wall jobs, splashbacks | Floors, showers, large tiles |
For most renovation projects, cement-based is the safer default.
Never use pre-mixed adhesive in a shower or on a floor, even if the tub says “water resistant”. Trapped moisture can break the bond and lead to loose tiles.
Matching Adhesive Class to Tile Type
Adhesive classification matters more than most shoppers realise. Manufacturers label adhesives by performance class, and the class tells you what the product is designed to handle.
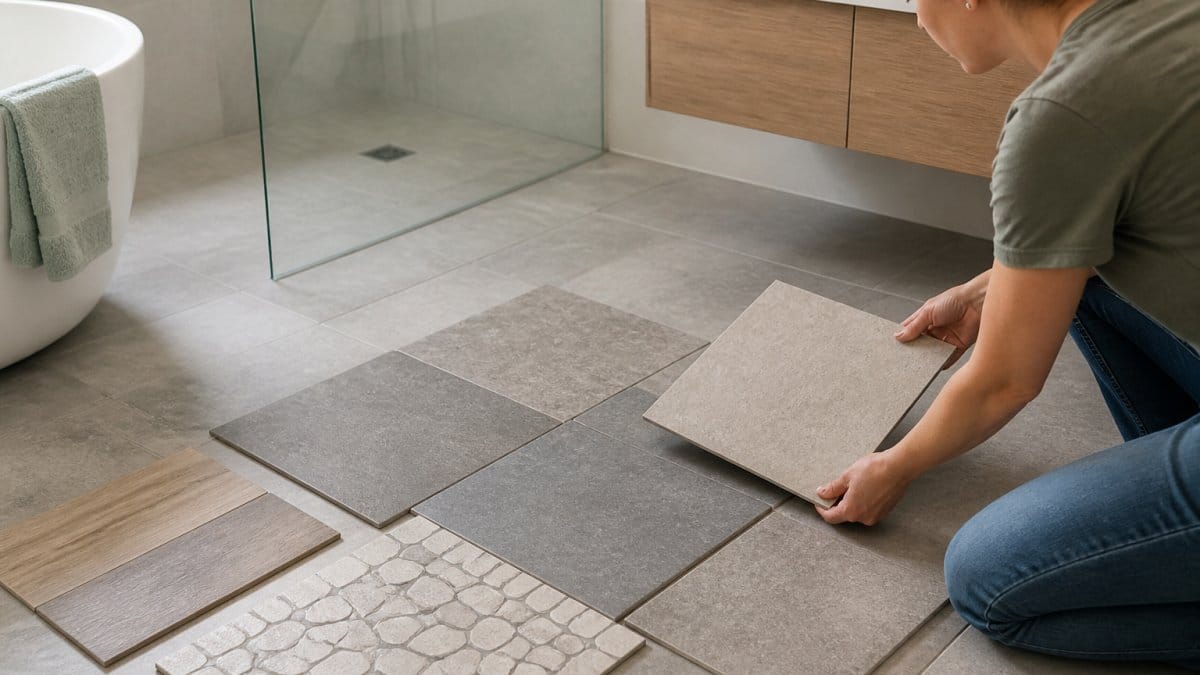
Large-format tiles and porcelain need a higher-performance adhesive than small ceramic wall tiles. Outdoor and wet-area work adds more demands again. The product data sheet, not the picture on the bag, is your guide. Matching the correct adhesive to the substrate becomes even more critical when choosing bathroom tiles where moisture resistance and long-term durability are essential for a successful installation.
Bring your tile details to the counter when you buy. Tell us the tile type, size, and where it’s going, and we’ll help you match the adhesive to the job. Always confirm the final choice against the manufacturer’s current data sheet.
How to Prepare Surfaces for Tiling
A clean, flat, sound surface is what makes adhesive work. Skip this and the best adhesive on the market won’t save the job.
Work through this checklist before you mix anything:
- Remove dust, grease, paint and loose material
- Check the surface is flat, with no hollow or crumbly patches
- Repair cracks and unstable areas first
- Prime porous surfaces if the adhesive maker recommends it
- Confirm the surface is dry and at a suitable temperature
- Plan your layout so cuts fall in sensible places
Waterproofing in wet areas is a separate step from tiling, and requirements vary by product and location. Speak to a qualified professional about what applies to your project.
Wipe a clean hand across the surface before you start. If dust comes off, the adhesive will bond to the dust, not the floor. A quick wipe-down takes two minutes and prevents a lot of grief.
Using a Tile Adhesive Coverage Calculator Before You Buy
A coverage calculator estimates how much adhesive you need from your tile size, trowel notch and area. It stops you running short mid-job or buying far more than you need.
Here’s how to work it out yourself:
- Measure the total area in square metres
- Check the adhesive bag for the maker’s coverage figure
- Match your trowel notch to your tile size
- Add a waste allowance for cuts and uneven surfaces
- Round up to whole bags
Worked example: a 12 m² floor with a 10 mm notched trowel. If the bag states roughly 4 to 5 m² per bag at that notch, you’d need about three bags, plus a little extra for cuts. Your actual figure depends on your trowel, your surface and your layout.
Waste allowance is not a fixed number. It depends on your tile size, the number of cuts, and how uneven the surface is. Ask at our showroom and we can help you estimate for your job.
Step-by-Step: Applying Tile Adhesive
Applying adhesive well is about consistency: even mix, even spread, even pressure. Rushing any of these three steps is what causes most failures.
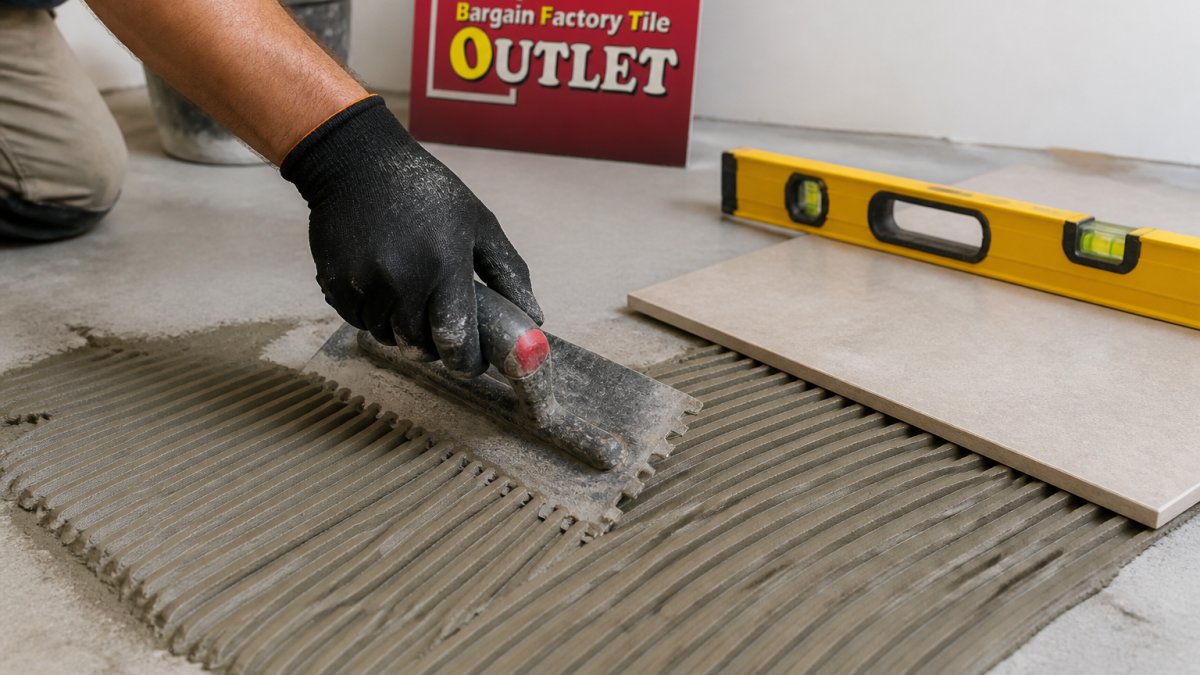
Step 1: Mix to the maker’s ratio. Measure water and powder as directed. Mix until smooth and lump-free, then let it rest briefly if the instructions say to.
Step 2: Spread with the right trowel. Use a notched trowel sized to your tile. Hold it at a consistent angle and pull even ridges.
Step 3: Check coverage as you go. Lift a tile occasionally to confirm the adhesive is transferring properly. If ridges aren’t flattening, adjust your technique.
Step 4: Work in small sections. Adhesive skins over. Only spread what you can tile within the open time on the bag.
Step 5: Press tiles firmly. Bed each tile with a slight twist and check with a level.
Expected result: even ridges, full contact, and tiles sitting flat with no hollow spots.
Adhesive for Outdoor Porcelain Pavers and Wet Areas
Outdoor and wet areas are the hardest test for any adhesive. Heat, moisture, movement and freeze-thaw cycles all put stress on the bond.
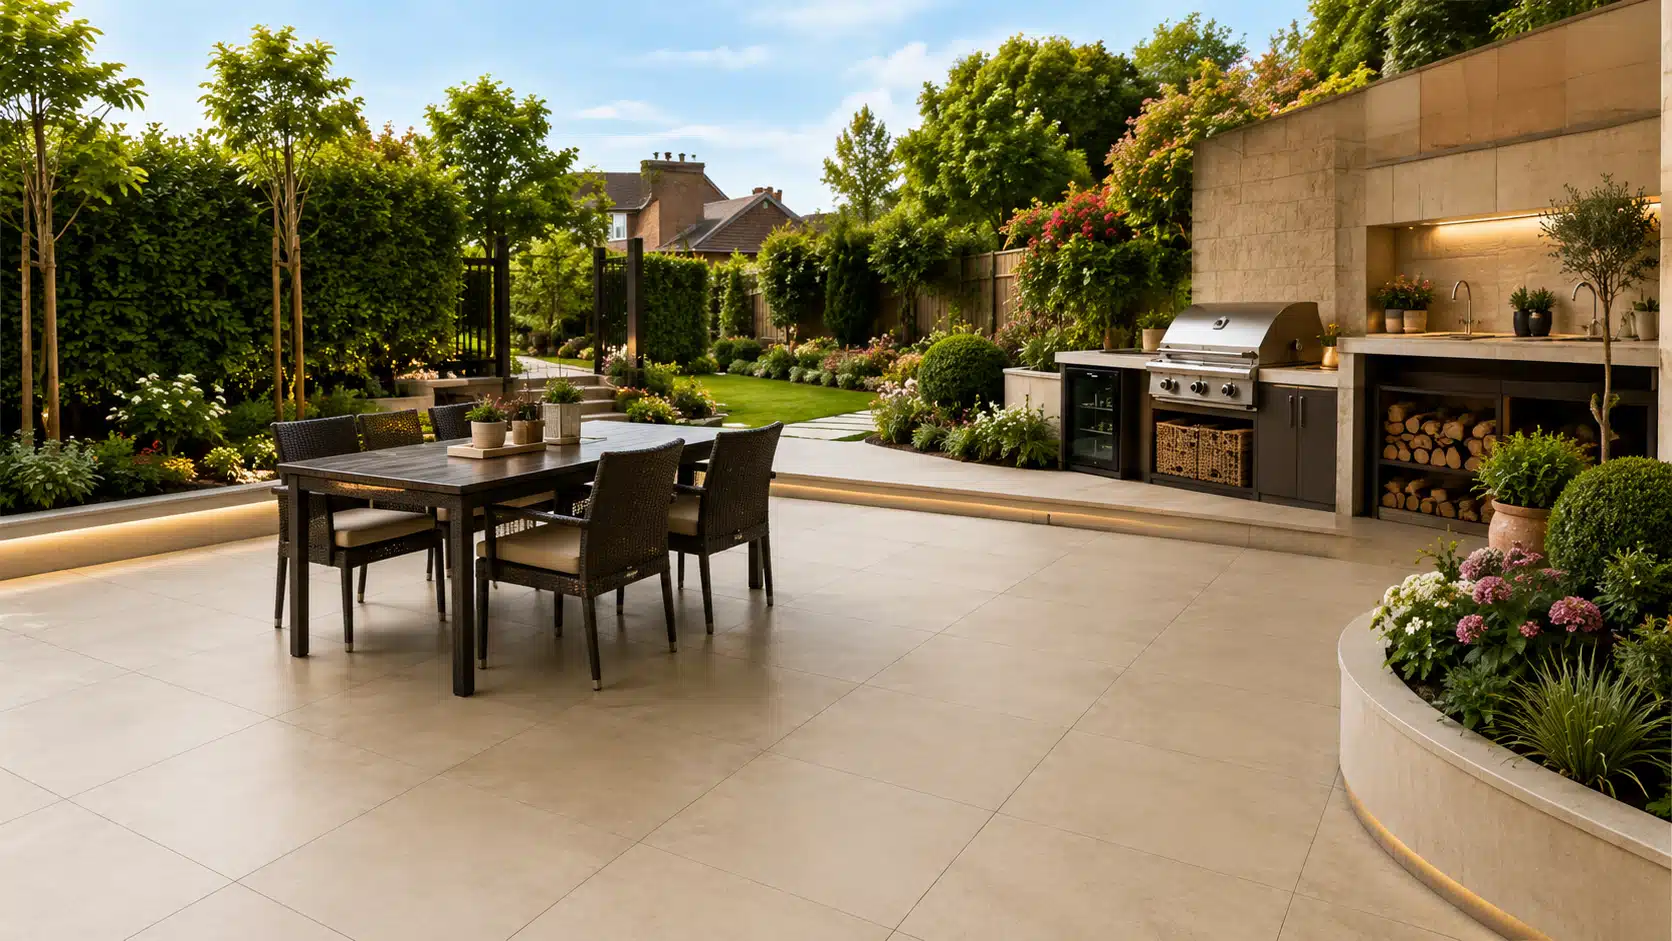
For outdoor porcelain pavers, you need an adhesive rated for external use and for the tile’s size and weight. For showers and other wet areas, the adhesive is only one part of the system: waterproofing, substrate and drainage all matter too.
Suitability always depends on the product, the location and the requirements that apply to your project. Check the manufacturer’s data sheet, and speak to a qualified professional before you commit.
The same tile can need different adhesives indoors and outdoors. Buy for the location, not just the tile.
Common Mistakes to Avoid With Tile Adhesive
Most adhesive problems trace back to a handful of avoidable errors. Here are the ones we see most often.
Mixing by eye. Guessing the water ratio weakens the mix. Measure it.
Spreading too much at once. Adhesive skins over, and skinned adhesive won’t bond. Work in small areas.
Skipping surface prep. Dust, grease and uneven patches are the top cause of loose tiles. Prep properly.
Using the wrong trowel. Too small a notch means poor coverage and hollow spots.
Using pre-mixed where it doesn’t belong. Floors and wet areas need cement-based products suited to the job.
Not checking the data sheet. Every product has limits. Read them before you buy, not after.
Buy all your adhesive in one trip. Different batches can vary slightly, and running out mid-job is one of the most common reasons a renovation stalls.
If you’re unsure about any of this, bring your tile and your plans into our Campbelltown showroom at 20A Blaxland Road. We’ll help you match adhesive to tile and surface.
Frequently Asked Questions
How do I choose the right tile adhesive for my project?
Start with three things: the tile type, the substrate, and where it will be installed. Large-format porcelain and natural stone usually need a modified cement-based adhesive, while small ceramic wall tiles may suit a standard one. Wet areas and outdoors need products rated for those conditions. Check the manufacturer’s recommendation for your specific tile, and ask at our Campbelltown showroom if you are unsure which class applies to your job.
What is the difference between cement-based and pre-mixed tile adhesive?
Cement-based adhesive comes as a powder you mix with water on site. It sets hard, suits most floor and wall applications, and is generally the choice for wet areas and larger tiles. Pre-mixed adhesive is ready to use from the tub, which suits small wall jobs like a splashback, but it is not intended for floors or constantly wet areas. Your tile size, substrate and location decide which is appropriate.
How much tile adhesive do I need for my floor area?
Use the coverage figure printed on the bag, then adjust for your trowel size and tile format. A 6 mm notch trowel spreads less adhesive per square metre than a 12 mm notch, and large-format tiles often need back-buttering as well. Work out your area, apply the bag’s coverage rate, and add a margin for uneven substrates and wastage. Check the current product page for the coverage figure of the adhesive you are considering.
Do I need a specific adhesive for outdoor porcelain pavers?
Outdoor installations face sun, rain and temperature movement, so the adhesive needs to suit exterior use and the paver’s size and absorption. Many porcelain pavers also need a suitable substrate and drainage detail, and some are laid on pedestals rather than bonded. Requirements vary by product and site, so confirm the manufacturer’s exterior recommendation and speak to a qualified installer before committing.
Choosing tile adhesive shouldn’t feel like guesswork. Match the product to your tile and location, prep the surface properly, and buy enough to finish the job in one go. Bargain Factory Tile Outlet stocks adhesives and tiling accessories alongside our floor, wall, bathroom and outdoor tile ranges, with a 1,000 m² showroom in Campbelltown for tile-selection advice. Check our current product pages for prices, specifications and availability, then get directions and drop in.