Last Updated: October 12, 2026
Start With the Cooktop Zone, Not the Colour
Most splashback regrets start in the same place: choosing a look before working out what the wall has to survive. Practical tips for kitchen splashback tile selection begin with heat, steam, oil and cleaning, not with a colour swatch.
A splashback is the protective surface between your worktop and your upper cabinets. It takes everything the cooktop throws at it, so the busiest zone deserves the toughest tile.
At Bargain Factory Tile Outlet, we can help you find a tile that suits your needs. Shoppers often arrive with a photo of a glossy marble-look wall and leave with a matt porcelain they can actually live with.
Here is the order that works:
- Zone 1: behind the cooktop, the hottest and greasiest area
- Zone 2: behind the sink, wet and prone to splashes
- Zone 3: the rest of the run, mostly decorative
Pick your tile for Zone 1 first. Whatever suits Zone 1 will almost always work across the rest of the wall.
If your cooktop sits close to the wall, a tile with a busy pattern hides splatter marks far better than a plain gloss. You will wipe it less often, and it will still look clean.
Kitchen Splashback Tile Sizes: What Suits Your Wall
Tile size is a practical decision before it is a design one. Kitchen splashback tile sizes range from small mosaics to large-format panels, and each format changes how the wall reads and how much cutting the job needs.
Standard Formats and Where They Work
- Subway tiles (around 75 x 150 mm): classic look, more grout lines to clean
- Square tiles (200 x 200 mm): simple, affordable, easy to lay
- Rectangles (300 x 600 mm): fewer grout lines, tidy stacked or brick bond
- Mosaics: ideal for tight areas and curved edges
Smaller tiles suit short runs and fiddly corners. Larger tiles suit long, uninterrupted walls.
Large-Format Tiles and Wall Flatness
Large-format tiles need a flatter wall. Any dip in the plasterboard shows up as a shadow line across the surface.
Check the wall with a straight edge before ordering. If it is out, plan for extra prep or choose a smaller format.
Easy-Clean Kitchen Splashback Tiles: Gloss, Matt and Grout
Easy-clean kitchen splashback tiles come down to two things: the tile surface and the grout. Gloss wipes down fastest. Matt hides marks and water spots much better.
Gloss suits light, bright kitchens. Matt suits darker and more textured schemes. Neither is wrong, but they behave differently day to day.
Grout matters just as much. Fine grout lines are easier to keep clean than wide ones. Epoxy grout resists staining better than cement-based grout, though it needs careful application.
One habit makes the biggest difference:
- Wipe the cooktop zone while the wall is still warm
- Use a soft cloth, not an abrasive pad
- Rinse and dry to avoid streaks
Abrasive cleaners and scouring pads can scratch gloss and polished surfaces permanently. Test any new cleaner on an offcut first, not on the wall.
How to Measure for Splashback Tiles (With a Worked Example)
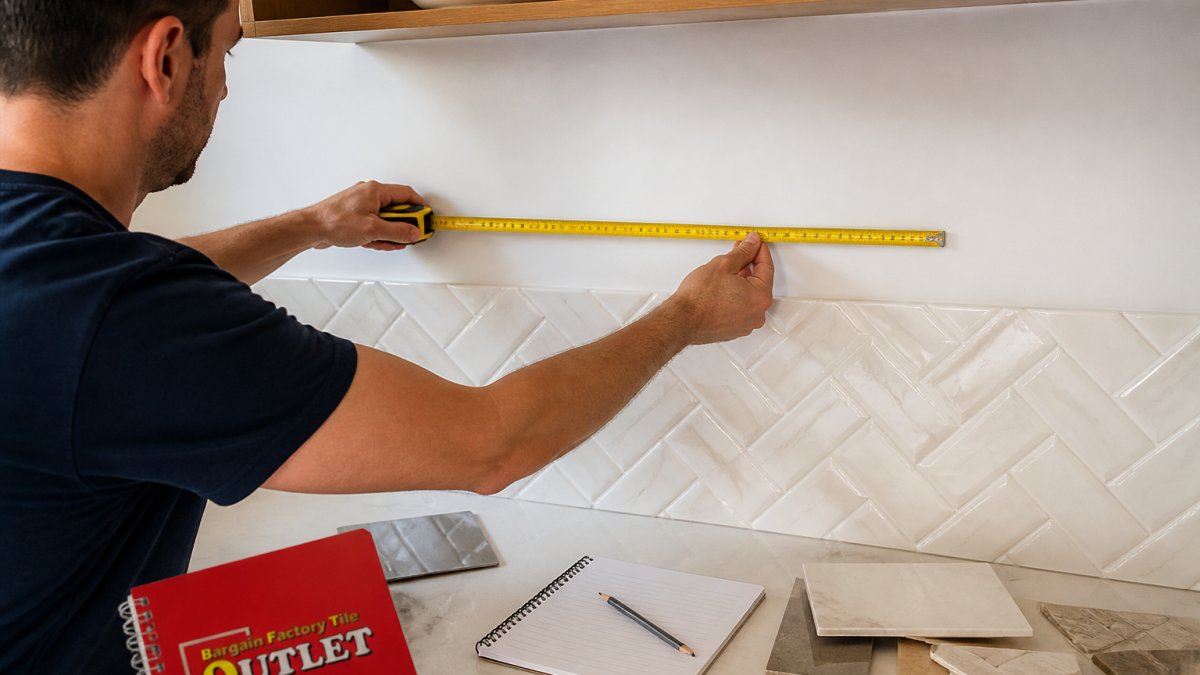
Measuring for splashback tiles means finding the true height and length of the wall, then adding a waste allowance for cuts. Measure the full run, then measure the height from the benchtop to the underside of the upper cabinets or cooker hood.
A Worked Example: 3.6 m of Bench, 600 mm High
Say your bench run is 3.6 m and the splashback height is 600 mm. That is 3.6 x 0.6, which equals 2.16 square metres.
Add a waste allowance for cuts, edges and breakages. A common starting point is 10 per cent, which brings you to about 2.38 square metres. Busy layouts, diagonal patterns and lots of outlets push that higher. Properly sealing backsplash edges ensures that these perimeter gaps remain protected against moisture ingress once the final tiles are set.
Waste allowances depend on your layout and project, not a fixed rule. Bring your measurements and a photo to the showroom and we can help you work through the numbers. Check current product pages for tile dimensions and coverage per box.
Colour, Finish and Layout: Making the Splashback Tile Selection Fit the Kitchen
The strongest splashback tile selection ties the wall to what is already in the room. Pull a colour from the benchtop, the cabinetry or the floor rather than introducing a completely new one.
Three layouts cover most kitchens:
| Layout | Look | Best For |
|---|---|---|
| Stacked | Clean, modern grid | Large-format tiles |
| Brick bond | Classic, softer | Subway tiles |
| Herringbone | Decorative, busy | Feature walls only |
Busy patterns suit a plain benchtop. A plain splashback lets a patterned benchtop or floor do the talking. Pick one hero surface and let the others stay quiet.
Matching the Splashback to Benchtop, Cabinets and Outlets
Matching a splashback to the benchtop is about tone, not an exact match. A near-match often looks like a failed attempt, while a deliberate contrast looks intentional.
A few things to plan before you order:
- Cut tiles neatly around power outlets, or move them if the layout allows
- Allow for the rangehood and any window reveals
- Check how the tile meets the benchtop edge and the underside of cabinets
- Keep a spare box for future repairs
Natural stone and porcelain look-alikes behave differently. Real travertine and marble are porous and need sealing, while porcelain versions offer the same look with far less upkeep. Know which one you are buying before you commit.
Pick one hero surface. If the benchtop is bold, keep the splashback calm, and the other way around. Two loud surfaces fight each other.
Common Mistakes to Avoid Before You Order
Ordering too little tile is a common mistake. Cuts, breakages and future repairs all eat into your total, so buying a little extra rather than a little short is often wise.
Other traps to dodge:
- Choosing a finish from a phone screen instead of a real sample
- Forgetting to check stock before booking a tiler
- Mixing dye lots from different batches on the same wall
- Skipping a dry layout before fixing tiles
Always view a physical sample in your own kitchen light. Screens and showroom lighting both change how a tile reads.
Conclusion
Getting the splashback right comes down to function first, then looks. Start at the cooktop zone, measure carefully, allow for waste, and choose a finish you can actually maintain.
When you are ready, bring your measurements and photos to our Campbelltown showroom. We stock floor, wall, bathroom, outdoor, subway and mosaic tiles, plus adhesives and tiling accessories, and we are happy to help you work through the options. Browse the range online or get directions to visit us in person.
Frequently Asked Questions
How do I choose tiles for a kitchen splashback?
Work through the practical questions first, then the look. Decide how much cooking happens at the hob, since that zone collects the most splatter. Measure the wall area, choose a tile size that suits the height and layout, and pick a finish you can wipe down easily. Take a sample home and view it under your own lighting before ordering. Our Campbelltown showroom lets you compare options in person, and current product pages list the specifications.
What type of tile is easiest to clean behind a cooker?
Glazed tiles with a smooth surface and minimal grout lines are generally the easiest to wipe down. Fine-grained mosaic sheets create more grout, which traps splatter, so they need more attention in the hob zone. Whatever you choose, check the product’s care instructions, because cleaning products and methods vary between tile types.
Are large or small tiles better for a kitchen splashback?
Large-format tiles mean fewer grout lines and a more seamless look, but they need a flat wall so they sit evenly. Small tiles and mosaics handle uneven walls better and suit detailed or curved areas, though they add grout to clean. For most kitchens, the deciding factors are wall condition, the height you are tiling and how the layout will look around power outlets.
How many tiles do I need for a kitchen splashback?
Multiply the length of the splashback by the height in metres to get the area, then divide by the area of one tile to get a base count. Add a waste allowance for cuts, outlets and breakages, and check the tiles per box on the product page. The waste percentage depends on your layout and how many cuts are needed, so confirm the final quantity with your tiler before ordering.
Ready to choose with confidence? Visit Bargain Factory Tile Outlet to compare splashback tiles, check current specifications, and get advice before you order.